In Part One I described the foundation for building a self-driving car out of LEGO. Here we will dive deeper into details about how to control the car and how to get 3D point cloud from LIDAR. In the end, the car will be able to drive around and avoid walls.
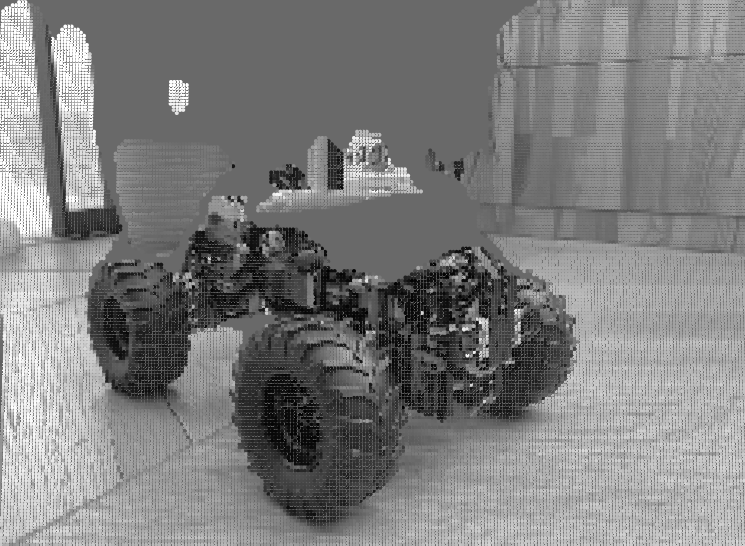
Self-portrait in 3D
Car assembly
As mentioned previously, I use LEGO 4X4 X-treme Off-Roader (42099) as a basis for this project. It features 3 motors (one for each axle and one for turning) that can be bluetooth controlled.
Car assembly is pretty straightforward and takes around one evening. For someone like me who is not experienced with mechanics it is actually fairly sophisticated. It even features a differential for each pair of wheels that allows them to rotate independently.
I skipped the top body assembly since iPhone needs to be placed somewhere, instead I put together a very simple holder for it.
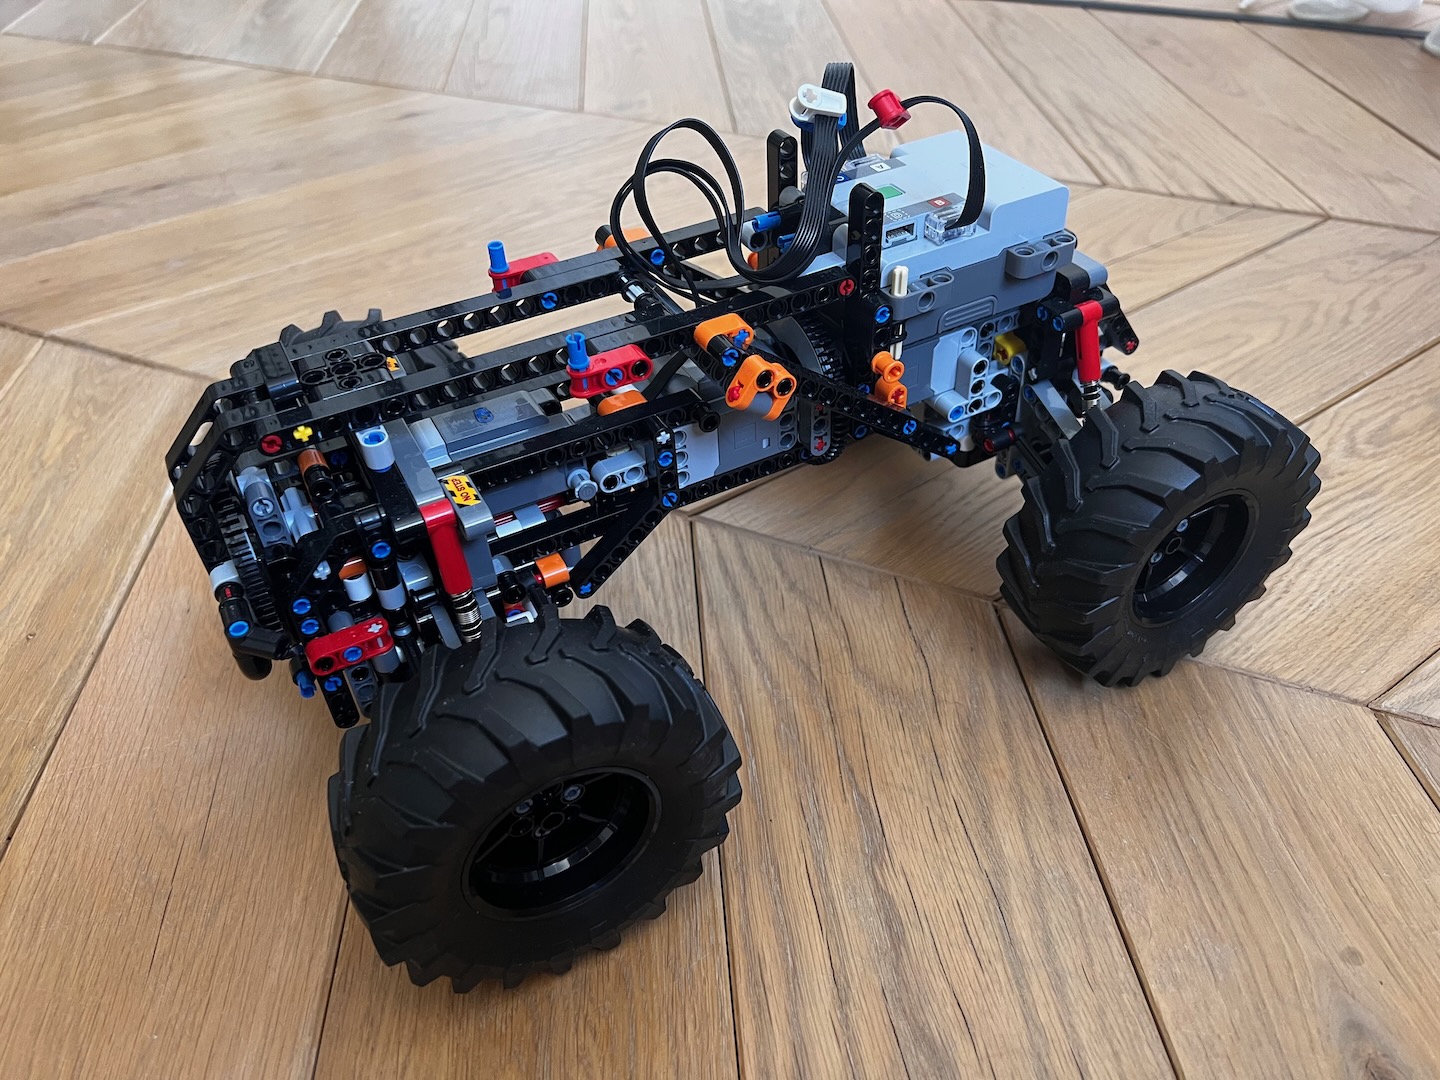
Base of the car without any modifications
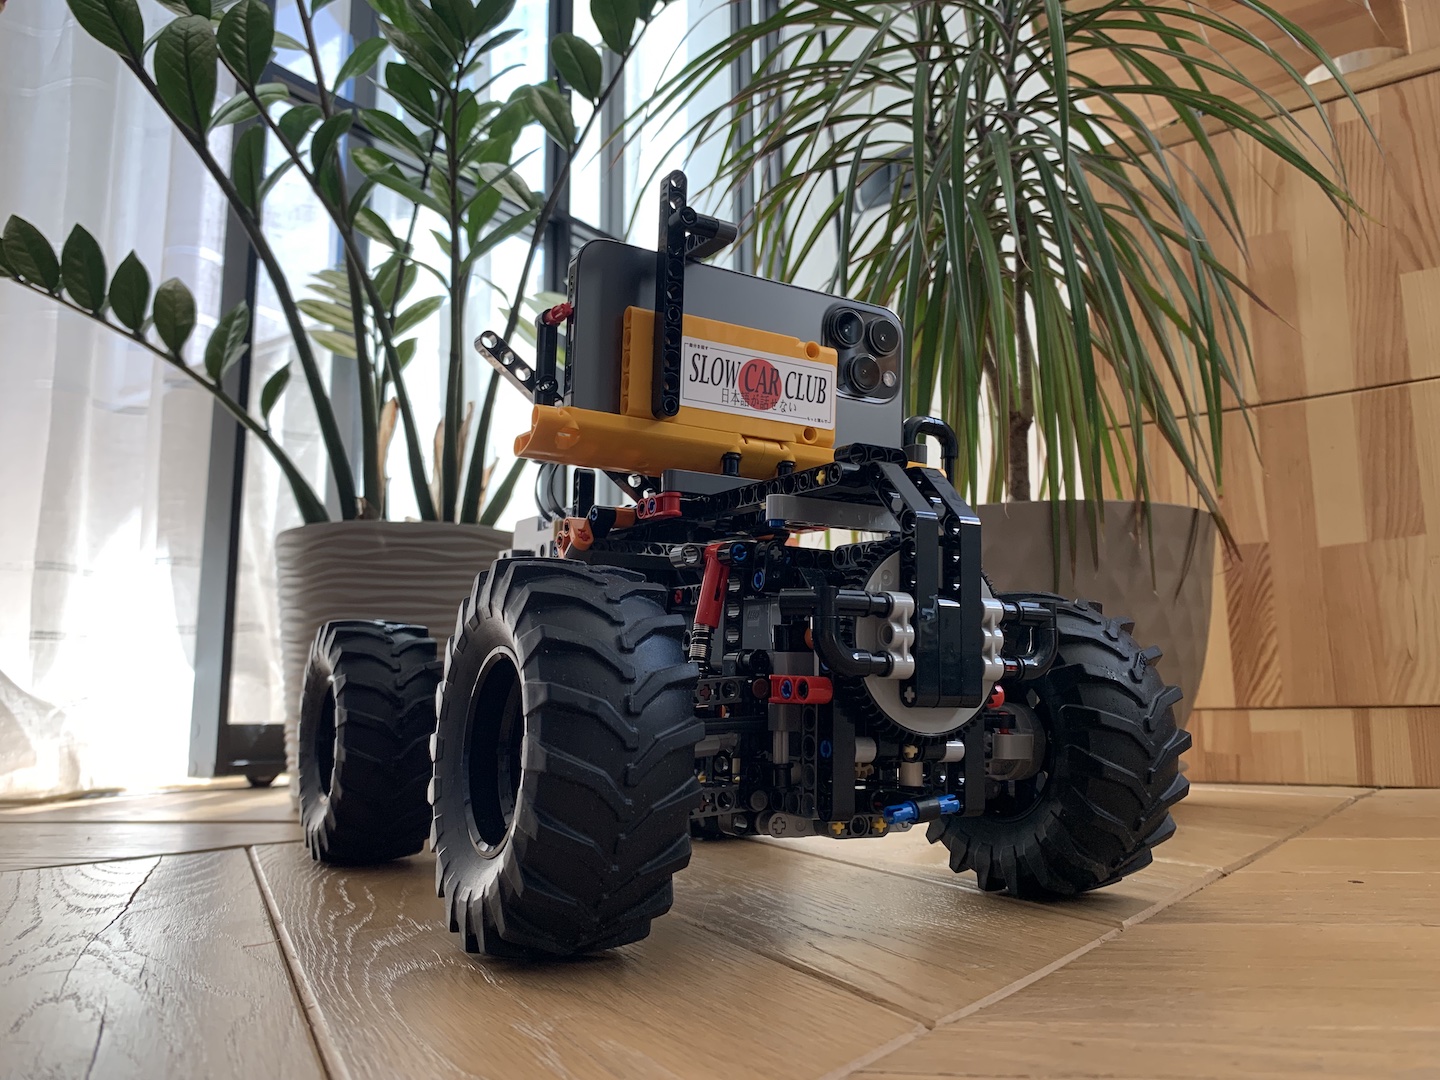
Car with an iphone mount
The interesting part came after everything was assembled and I ran to the shop for 6 AA batteries. LEGO provides a mobile app to control the car that I used only once to make sure everything functions and I didn’t mess up the assembly.
One surprising aspect is that the front wheels block is not sturdy enough and wobbles around. This makes it difficult to drive straight - little steering corrections are required. I’ve seen it solved mechanically with extra springs, but we will solve it programmatically later.
Well, there is no need for the app anymore - let’s learn how to control the car from a laptop!
Bluetooth control
Turns out, LEGO’s bluetooth protocol is actually documented. Of course, there are a few open source libraries that make life easier.
For this project I use pylgbst. Unfortunately, it was not built with asyncio in mind and supports asyncio libs via threading. I decided to slightly rewrite parts of it to make it truly async.
Here how the code looks like to start driving, wait for 2 seconds and stop:
hub = AxleTechnicHub(hub_mac=HUB_MAC)
await hub.connect()

await hub.motor_front.start_speed(-100)
await hub.motor_back.start_speed(-100)
await asyncio.sleep(2)

await hub.motor_front.stop()
await hub.motor_back.stop()
Pretty easy, right? There are two motors (one for each axle), so originally I had to issue two commands to start or to stop. At the same time, car’s movement was “jerky” which I could not figure out at first. High-speed camera helped me:
There is a delay between the first and second motor stopping! It makes sense since we wait until each command is completed before sending out a next one. Thankfully, LEGO thought about this and they allow to bind two motors as one “virtual” motor. This way all the movement is smooth.
Finally, to be true to the distributed architecture, a node was written that listens to bluetooth commands that other nodes send, and executes them.
You can see an example how some node (e.g. listening to keyboard presses for manual control) can ask bluetooth node to steer 30 degrees right and drive forward full speed:
commands = [
    bt.Steer(30),
    bt.DriveFwd(1),
]
await pub_bt.publish(BTCommandsMsg.from_bt_commands([commands]))
Point Cloud
Now can drive the car, but it has no idea what is around. Let’s solve this by generating a semi-dense 3D point cloud for each frame.
Sensor data comes from an iPhone 13 Pro and includes a depth map from lidar and a camera image. Looks like Apple is serious about AR future and they calibrated these two well and provided and example of how to generate a point cloud here.
Basically it allows to get 3D coordinates in centimeters for every pixel of depth map, 49152 in total. Furthermore, we can find a corresponding pixel in a camera image that can give us a color. I use grayscale for performance reasons, so I only have a gray component.
To keep architecture distributed, there is a separate node that takes a camera image with a depth map and publishes a point cloud for other nodes to use. One such node is a simple panda3d app that renders point cloud.
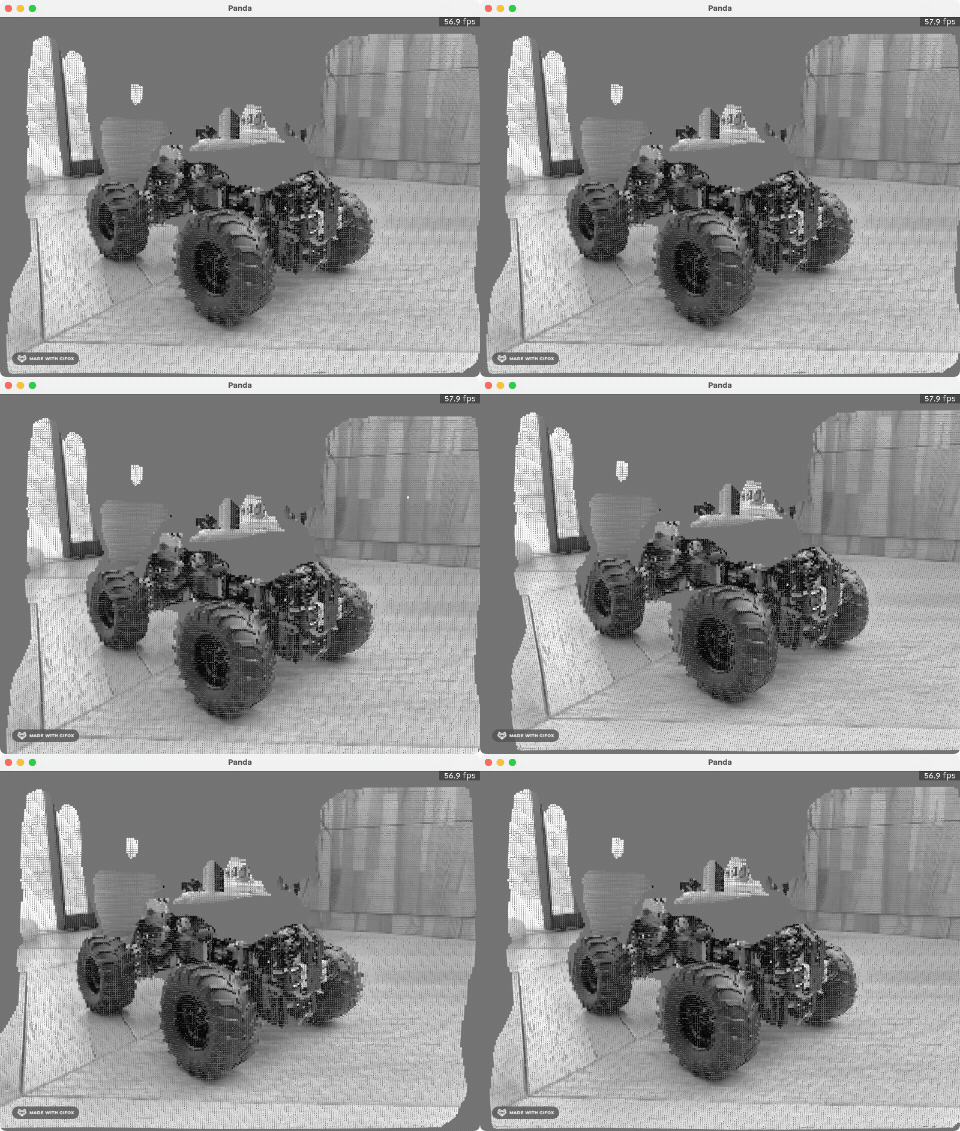
Self-portrait in 3D (animated)
You can see that some points are missing from the point cloud. This is not a void that opened in my apartment. iOS gives every point a certainty grade and we only pick points the system is very certain about. This will be important later when we will build localization.
While working on point cloud computation, I got reminded how powerful vectorization is. First version of the code iterated over all the points and computed them one by one - it took around 100ms to generate a point cloud for a frame. Once I switched to vectorized numpy operations and removed this for-loop, time to compute went down to 1ms!
First autonomous task
By now we have all the components to solve the first task. I want the car to imitate early roomba vacuum cleaners. Basically all they do is drive straight until an obstacle, turn around randomly and keep driving. Repeat this until the floor is clean.

Shout out to Tom from Parcs and Rec
Here is an architecture we use at this point:

Control flow is fairly simple and can be viewed as a state machine:

Look for an obstacle every 33ms (equivalent to 30 FPS)
After being in the wall a few times, I arrived at this:
There are a few limitations for now:
- process of turning around is constant and does not take into account what is around
- car only takes a distance to the closest point, rest of the point cloud does not matter
- the whole process repeats forever, until I stop it manually
- one has to be careful picking a threshold for the obstacle detection, if it is too small and the car is going full speed, it won’t have time to stop before hitting something
Nevertheless, it works and it is autonomous!
What’s next
In the next part I will focus on something called visual-inertial odometry. The car will learn where is it located in 3D space (without GPS). This is crucial for further task of navigating to a given point - we cannot know how to reach the point if we don’t know where we are, right?
